Sunday, February 10, 2013

Saturday Shopping Adventure

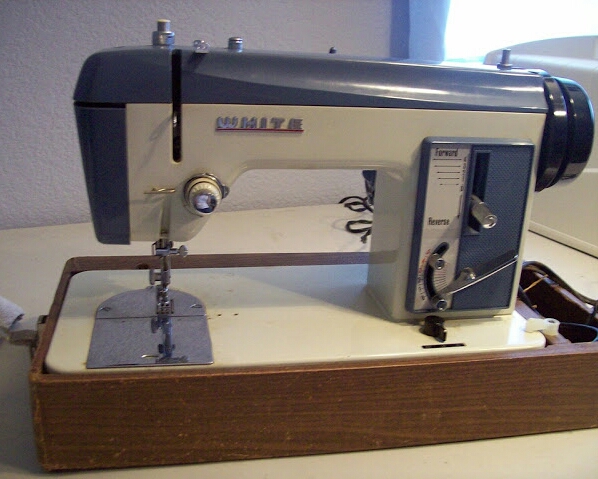
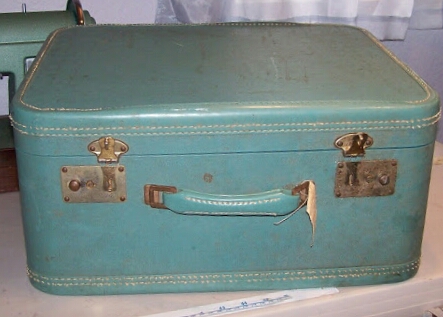
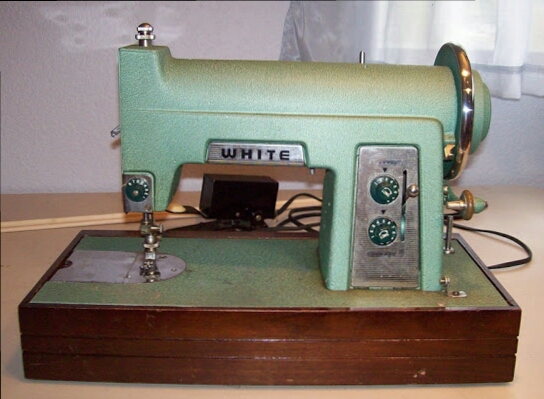
This week I'm going to introduce you to two new sewing machines I purchased from Craigslist.  My sister wanted to learn how to sew but did not have a machine. Of course, being the good sister that I am, I just had to help her out by getting her a machine of her very own.   The first the first one I purchased was a green colored machine made by White.  It came in a suitcase like carrying case and was perfectly operational. It's only needed to be cleaned up and the foot pedal wiring recovered with shrink tubing as it there were a few spots that were a bit worn.

It turns out my sister is very finicky about color and really does not like the color green (I found this out AFTER buying the machine).  Fortunately,  I only spent $25 dollars on the green one.  Now I was on the hunt for a blue machine, since that is her favorite color.  I was quite fortunate to find one that same day and it also was made by White.  The blue lady also worked wonderfully and had a zig-zag function.  After a bit of cleaning up and a fresh bobbin tire, she was as good as new. 

So, at the end of this little adventure, my sister and I both had a sewing machine - mine green and hers blue.  Not bad for Saturday afternoon, don't you think?  Here are some pictures of our new acquisitions for you to enjoy.

Saturday, February 2, 2013

Needle Bar Reassembly

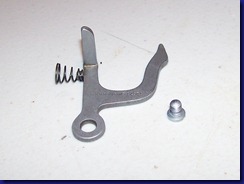
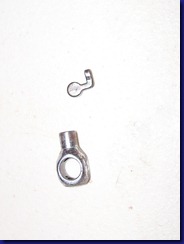
Below is a picture of all the parts I’ll need for today’s project – reassembly of the needle bar.

100_1560

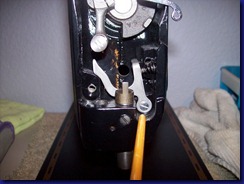
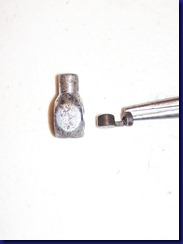
I needed to refer to my previous posts and Needle bar removal Part 1 and Needle bar removal Part 2 to refresh my memory and give me an idea of where to start since the Assembly Manual was a bit lacking.  The first step I took was to re-install the “bar hook”.  The tricky part here was knowing how tight to tighten the screw.  If you go too tight the bar won’t move.  I’m not sure, but I suspect it’s supposed to move because it has a spring attached. 

100_1564100_1565

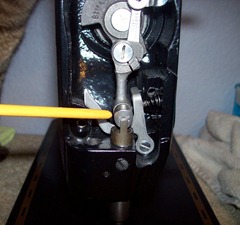
Next. I turned the wheel stub to bring the needle bar connecting stud to its lowest position.  100_1570

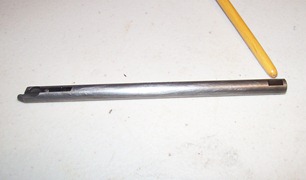
Then oiled needle bar and placed it in Mrs. Rusty with the flat part of the top of the bar (see photo below) toward the arm of the machine.  Inserted the set screw and tightened it.  The assembly manual states to adjust for correct height, but that can’t be done until the bobbin assembly is in place.

100_1569

I then placed the thread guard into the clamp body. 

100_1571100_1572100_1573

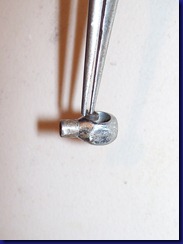
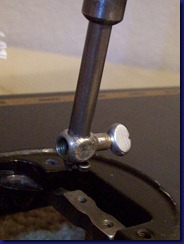
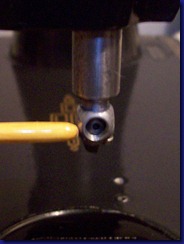
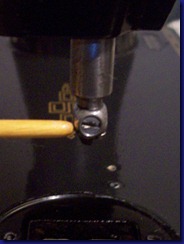
Then placed the clamp body onto end of needle bar. It will let you push it up less than an inch so you don’t have to worry about going too far up the bar.  The clamp position screw is attached last.

100_1575100_1576100_1577

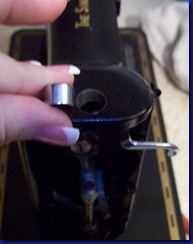
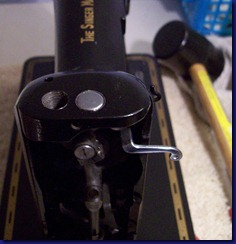
Last, the needle bar plug was replaced.  It didn’t slide in nicely, so I had to use my rubber mallet to gently coerce it into position.

100_1581100_1582

I had a few parts left over, but those likely are part of the presser bar, which I’ll do next time.

100_1584