Friday, March 23, 2012

Meet Ms. Rusty’s new sisters


I recently acquired a few “new” machines.  My father-in-law went to a swap meet to look at old automobiles, but ended up buying a few sewing machine treasures for me rather than car parts for himself.  My mother-in-law calls him a “pusher” for my addiction (lol).  I like what he is pushing so I’m not about to complain!!

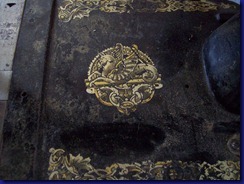
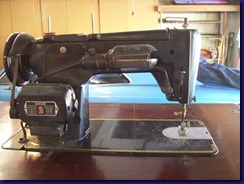
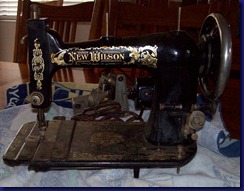
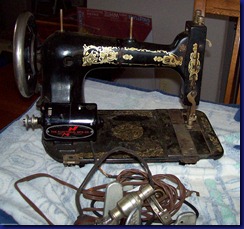
New Wilson manufactured by the A.G. Mason Manufacturing Company in Cleveland, Ohio.  It’s a shuttle machine and came in a bentwood case. My FIL has the case right now to repair the latch so here are pictures of the machine without the case. I don’t know if it originally had a motor, but I strongly suspect the motor on it now is a replacement or aftermarket model.

New Wilson - FrontNew Wilson - BackNew Wilson - Bed Decal

The A.G. Mason company was only in existence from 1903 to 1916, so this machine is about 100 years old.  Other than learning that the A.G. Mason company was acquired by the Domestic Sewing Machine Company in 1916, I don’t know anything else about the New Wilson sewing machines, so if any of you out there know more, I love to hear about it!

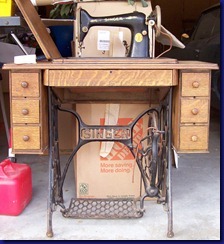
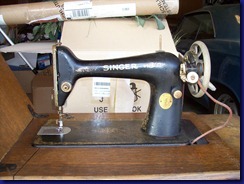
Singer Treadle

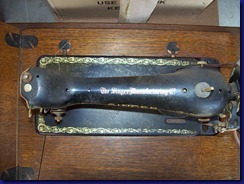
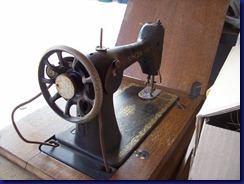
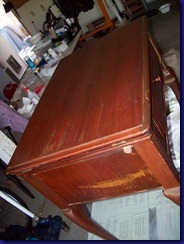
The serial number on this machine is AA-738142 so information available on the ISMACS website indicates that this baby is a Model 66 made in late 1925.  The decals on this machine are in really good shape and the cabinet is also in good condition.  It has some surface rust on the chrome parts, but unlike Ms. Rusty, this machine can actually make a decent stitch in it’s present condition.  It shouldn’t take much to get her looking good and running great!

Singer Treadle - Base and HeadSinger Treadle - Head TopSinger Treadle - Head BackSinger Treadle - Head Front 2

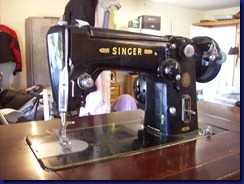
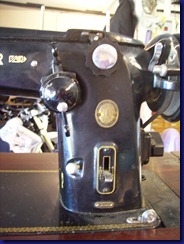
Singer 306k

This one I can’t blame on my FIL.  I bought this one myself at a yard sale.  It is a 306k and probably the newest model Singer in my collection.  I can’t find a thing wrong with the machine at this point and it just needs a bit of cleaning to be in great condition.  The cabinet is also in pretty decent shape, but could use some refinishing to get rid of some wear marks and scratches.

back of 306Frontdialstop lhs of cabinet

As you can see, I will have plenty of projects to work on when Ms. Rusty is finished.  The two biggest questions on my mind at this point are: 1) will I EVER finish Ms. Rusty? and 2) which project should I start on next?
Friday, March 16, 2012

Decals!!

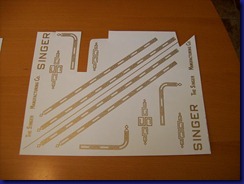
Today is the day I describe how I applied decals to Ms. Rusty.  The decals I’m using are waterslide decals that I found for a Singer 301 (3/4 size bed) so they aren't quite long enough nor have enough corner decals for the bed of a 201. However, they have the same design and Ms. Rusty originally had and one sheet of decals is enough for two 3/4 size machines so I'll have enough extra decals to make them fit my machine.
One sheet of decals:  Decal Sheet
The first step in the decal process is to cut out and trim all the decals.

Friday, March 9, 2012

Bubble Repair

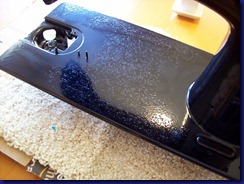
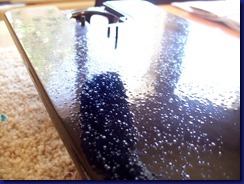
As I mentioned in the previous post, the powder coating process was mostly successful.  The problem was that bubbles appeared on the bed surface. 

Bubbles on bed    Bubbles close-up

I discussed possible causes of the bubbles with my husband, who has much more experience in powder coating than I do.  He said it could be due to any number of reasons, including either porous metal or contaminants trapped in the metal.  The air or contaminants (such as oil) trapped in the metal would start to expand as the metal is heated in the oven at temperatures up to the 400°F that is required to liquefy and cure the powder coating.  The bubbles then form as the contaminants escape through the powder coating.  However, he points out that this is all speculation on his part and the true cause remains unknown.  All I know is that Ms. Rusty looks like she has a bad case of acne and I need to fix it!

Sunday, March 4, 2012

Blasting and Coating

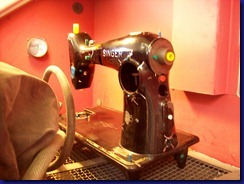
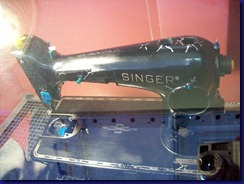
Now that Ms. Rusty is all plugged up and protected, I sent her into the blast cabinet.  Here are pictures of her viewed from the door of the blast cabinet and through the window.
In the blaster2In the Blaster
At first I was a bit scared to start taking off her paint, wondering how hard it was going to be and having second thoughts about this whole crazy plan of powder coating her.  But I reminded myself that she REALLY needed a new coat of paint at the very minimum, and bead blasting her was going to be easier, and more thorough, than trying to use paint stripper.